This page is an illustrated step-by-step guide for submitting events to Driftless Blue. The screen shots illustrate a part of the content on your screen, and what you see may vary depending on your browser and the device you’re using.
With those caveats out of the way, let’s get started!
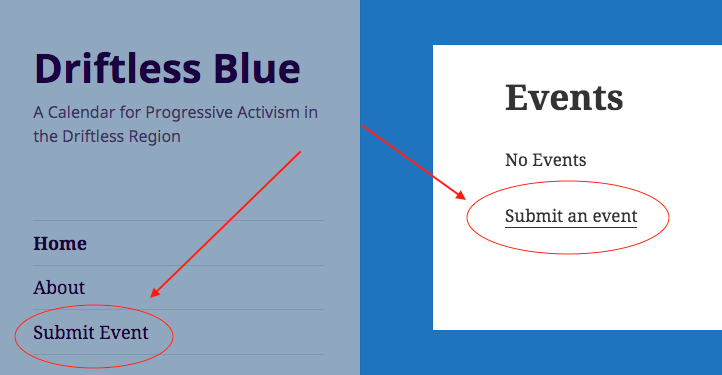
1 – Go to the “submit an event” page.
You’ll find a link on the main menu, or below the event list on the Home page.
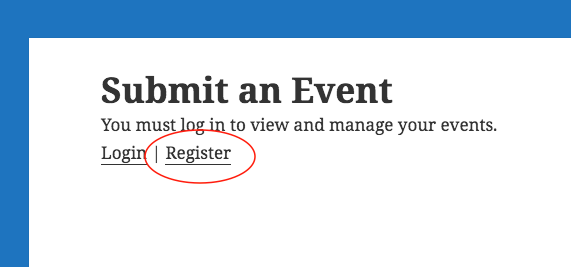
2 – Log in or register
If you have already registered, click the “Login” link and go to step 7.
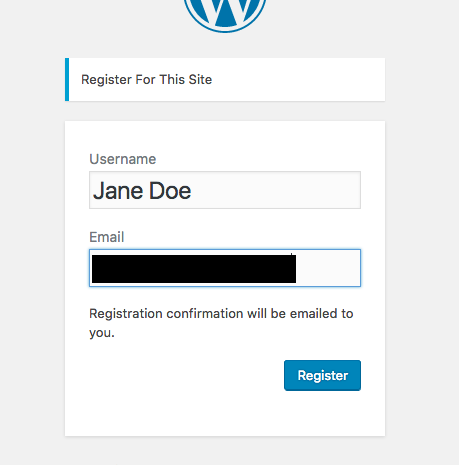
3 – Choose your username and enter your email
Choosing your password comes later.
Click the “Register” button to move on.
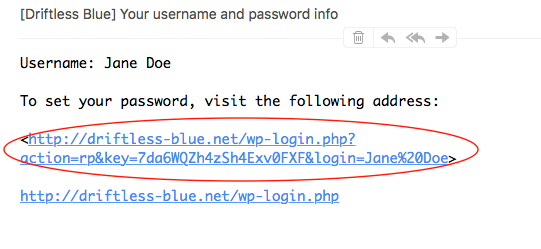
4 – Respond to the confirmation email
The system sends you an email to confirm the accuracy and legitimacy of the message you submitted in step 3.
Click on the link supplied (or copy the link and paste it into your browser’s address field).
5 – Set your password (not shown)
REMEMBER YOUR PASSWORD! The system only asks for it once.
You are strongly encouraged to aim for a secure password. Avoid common words. Use a mix of capital letters, lower-case letters, digits, and punctuation.
Choose a password that’s reasonably easy for you to remember, but difficult for someone else to guess.
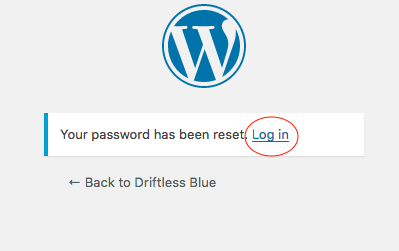
6 – Password has been set, click the “Log in” button
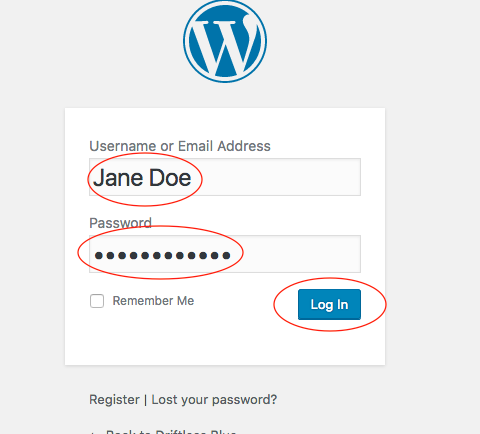
7 – Log in to Driftless Blue
Use the “Remember me” button only if you are on a computer that no one else can access.
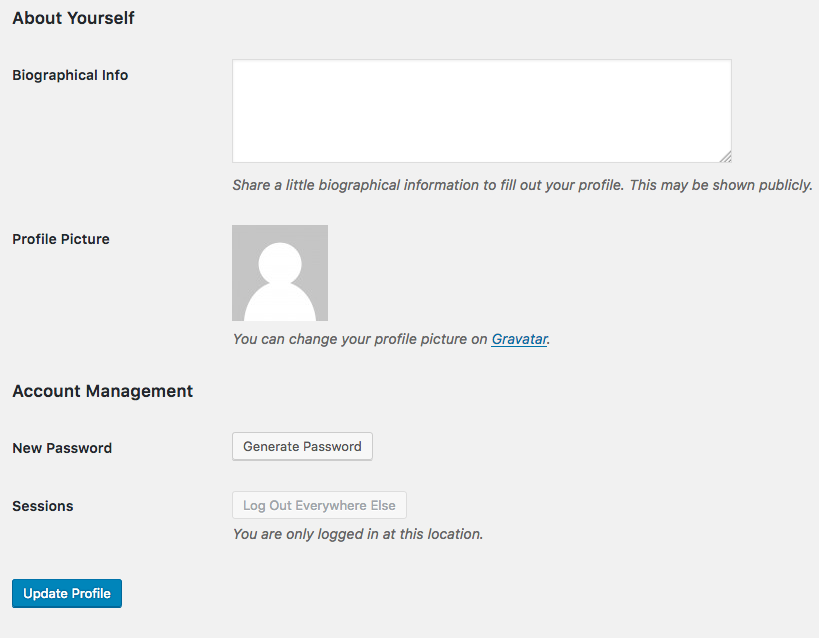
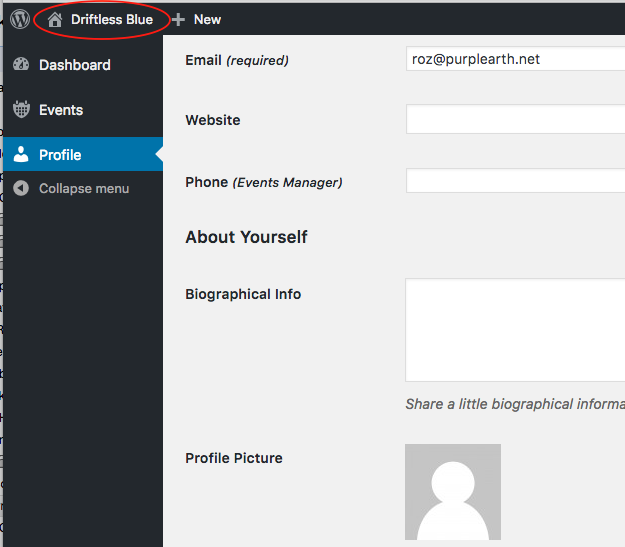
8 – Your profile page
You may get directed here when you log in. Profile information is not publicly displayed yet, but it may be used in the future to identify the user who submits an event.

Note that the password reset fields are at the bottom of this form, in case you ever wish to change your password.
Remember to click on the blue button on the bottom if you want any changes to “stick”.
9 – Get back to main site
Click on the link on the admin bar at the top of the screen.
10 – Add a new event
Now that you’re registered and logged in, you are given a list of events you’ve submitted. In this case, the list is empty and you need to add your first event.

11 – Enter title (not shown), and date and time
The date fields display calendar-style date-pickers when active.
In the time fields, you can type manually or use the pull-down menu.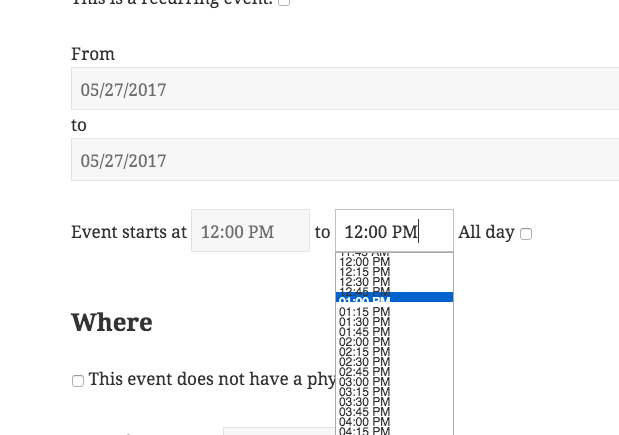
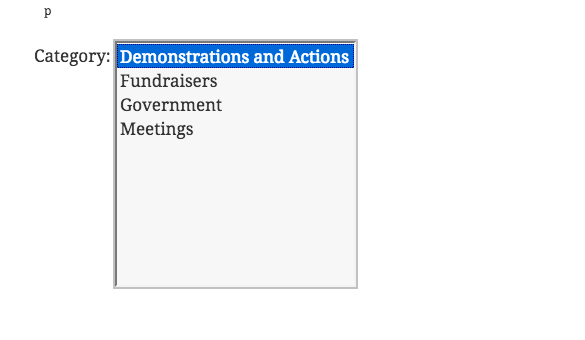
12 – Choose category (optional)
Choosing a category will help people find your event.
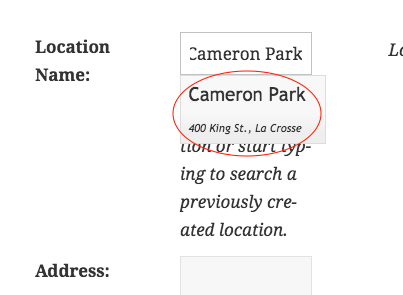
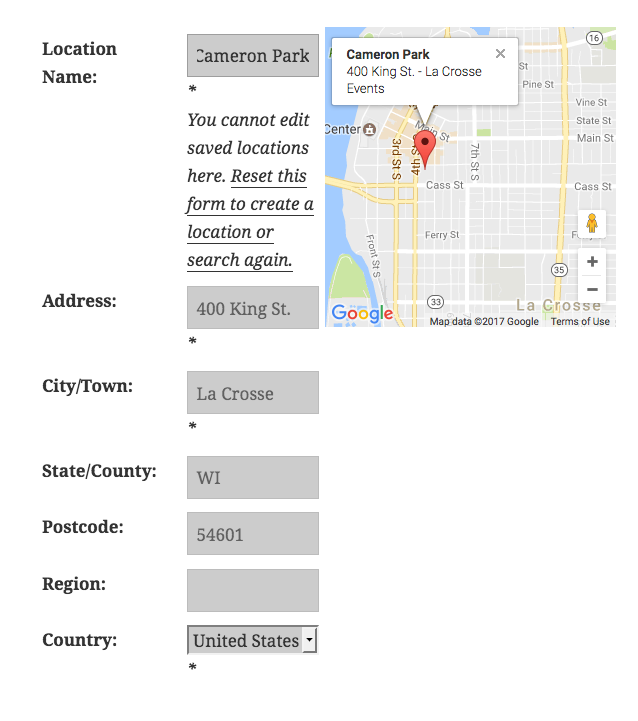
13 – Choose location
This system “remembers” locations, so it may autofill.
The system also communicates with Google’s mapping system and allows you to select a location it recognizes. When this happens, you’ll see the location in a pull-down menu as shown below. If you click on the item in the menu, the next step will usually be done for you.
14 – Fill in location information
If your location is new or unfamiliar, you’ll need to fill in the rest of the fields.
15 – Write descriptive details
The details section is where you can describe and promote your event.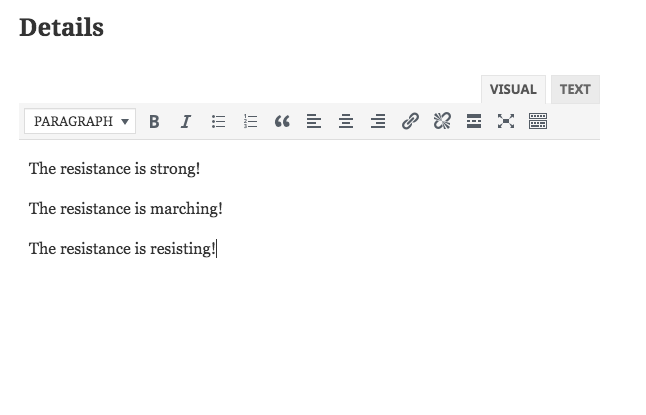
16 – You don’t need an image…
… but if you use one, best to use an image that’s not too big.
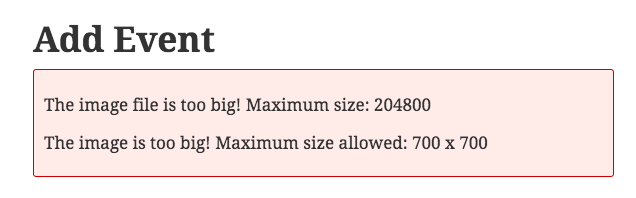
17 – If you decide to use an image…
The field for choosing your image is near the bottom of the form.
Don’t click the “Submit Event” button until you’re finished…
But when you are finished, make sure to click “Submit Event”!

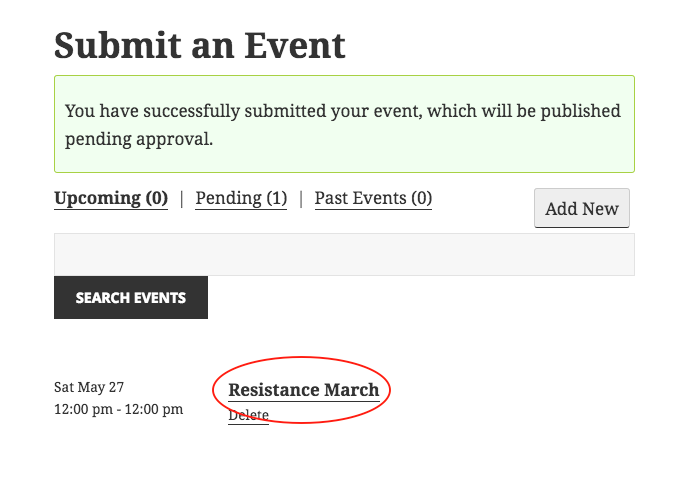
18 – Your event is on the “Submit an Event” page
It’s in the list of events you submitted. Once it is approved by the administrator(s), it will be displayed on the site.
You can click on the link to your event on this page if you need to edit any of its information.
19 – See your event on the main event list
The name and location of your event are displayed as an item under its date on the main event list.
The name/title of your event is a link that goes to the event details page for your event.

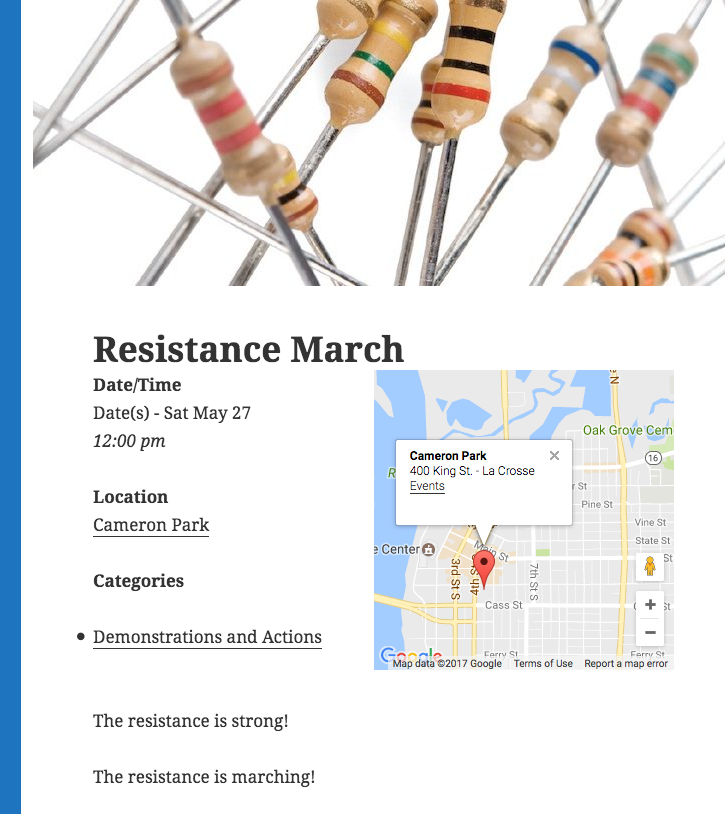
20 – Your event page
The image you submitted is on the top.
This page also includes the category and the details.